.svg)
.svg)
.svg)
.svg)
.svg)
.svg)
.svg)
.svg)
.svg)
.svg)
.svg)
.svg)
.svg)
.svg)
.svg)
.svg)
.svg)
.svg)
.svg)
.svg)
.svg)

Implementing email filters involves using the filtering capabilities provided by your email service or client. The steps might vary slightly depending on your email service or client (such as Gmail, Outlook, Yahoo Mail, etc.); however, most modern email services provide robust filtering options, allowing users to create intricate rules to manage their inbox efficiently.
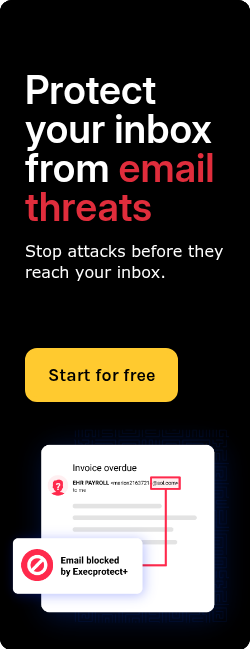
What is email filtering?
Email filtering is automatically sorting and organizing incoming emails based on predefined criteria or rules. It's a mechanism used to manage and prioritize emails according to specific parameters set by the user.
Email filters analyze various components of an email, such as sender information, subject line, content, attachments, or even recipient details. The user can establish rules or conditions that dictate how their email system should handle incoming messages that meet certain criteria.
Go deeper:
A guide to implementing email filters
Email filters are invaluable tools for efficiently managing your inbox and prioritizing essential messages. Leveraging the filtering capabilities offered by your email service or client can streamline your email workflow.
Here's a comprehensive step-by-step guide on implementing email filters to regain control of your inbox:
- Access email settings: Log in to your email account and access the settings or preferences section. Look for an option related to "Filters," "Rules," or "Settings."
- Create a new filter/rule:
- Choose to create a new filter or rule.
- Specify the criteria for the filter. This includes criteria such as sender's email address, specific words in the subject line or body, recipients, attachments, etc.
- Define what action the filter should take when it identifies an email meeting these criteria (e.g., move to a folder, mark as important, forward, delete, label).
- Set multiple conditions (if needed): You can often set multiple conditions for a single filter to make it more precise.
- Test the filter: Before finalizing, it's a good practice to test the filter with sample emails to ensure it works as intended.
- Apply and Save: Once you're satisfied with the filter criteria and actions, apply or save the filter settings.
- Modify and refine: Review and refine filters periodically based on your email patterns or changing needs.
- Learn from false positives/negatives: Occasionally, filters might capture emails incorrectly (false positives) or miss relevant ones (false negatives). Adjust the rules based on these instances to improve accuracy.
- Monitor effectiveness: Regularly monitor the performance of your filters. Ensure they are correctly categorizing and managing incoming emails according to your preferences.
Related: